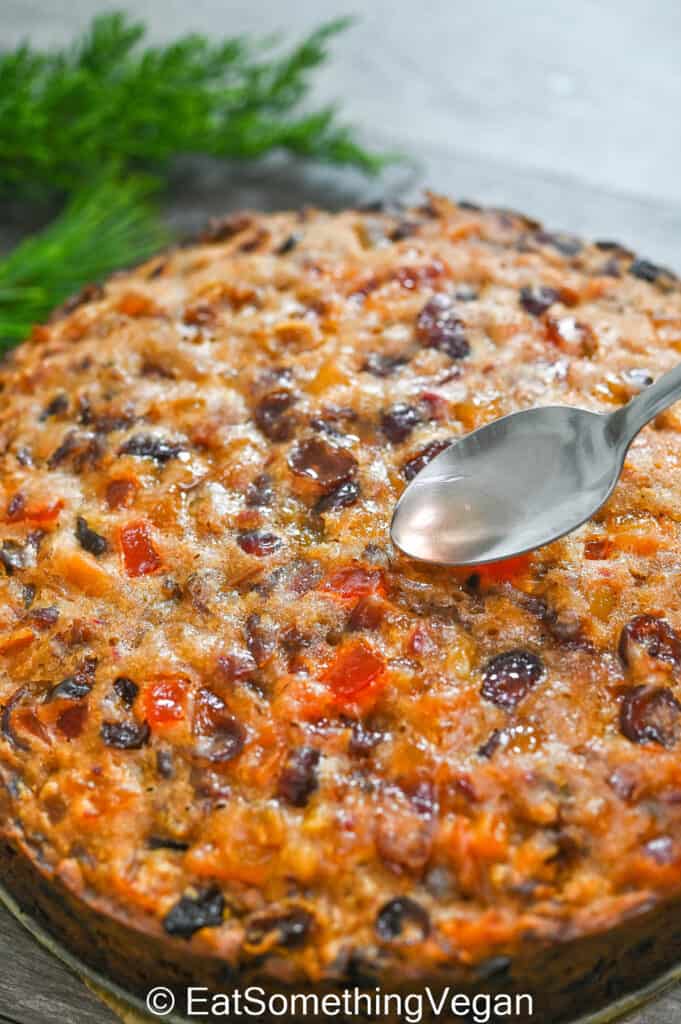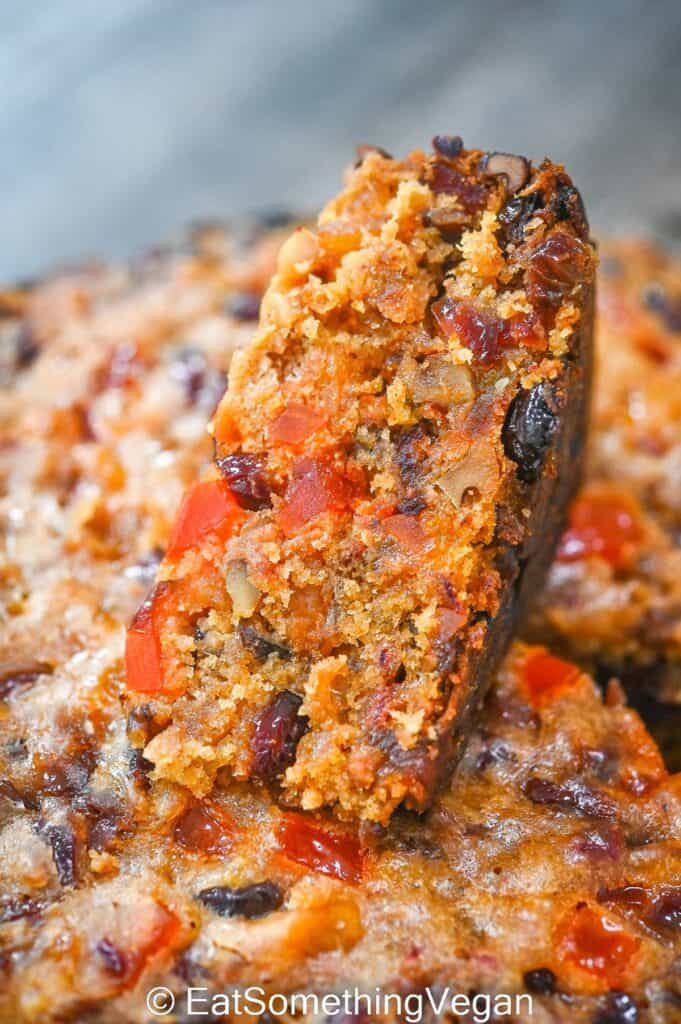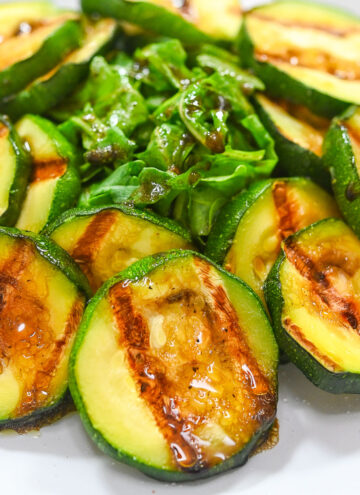
These Quick Asian Sugar Snap Peas are the perfect side dish to any dinner recipe. Made with simple ingredients that offer a fresh and crisp taste and texture you'll love.
Forget boring old salads as your go-to side dish of choice and make up this simple sugar snap peas recipe instead. The added fresh ginger creates a taste that will have your tastebuds craving more.
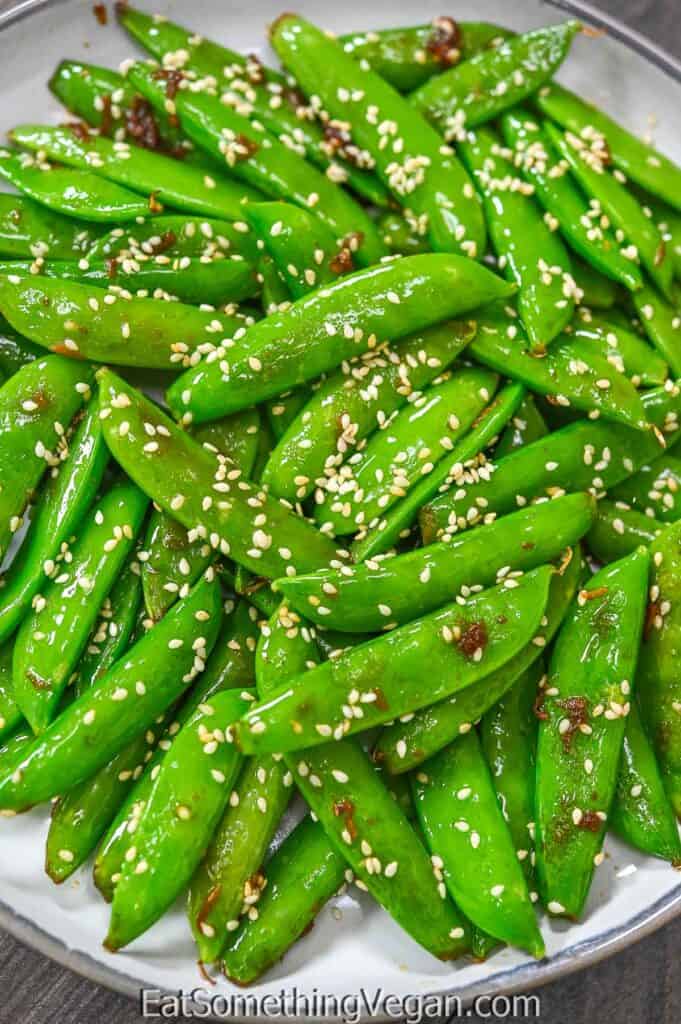
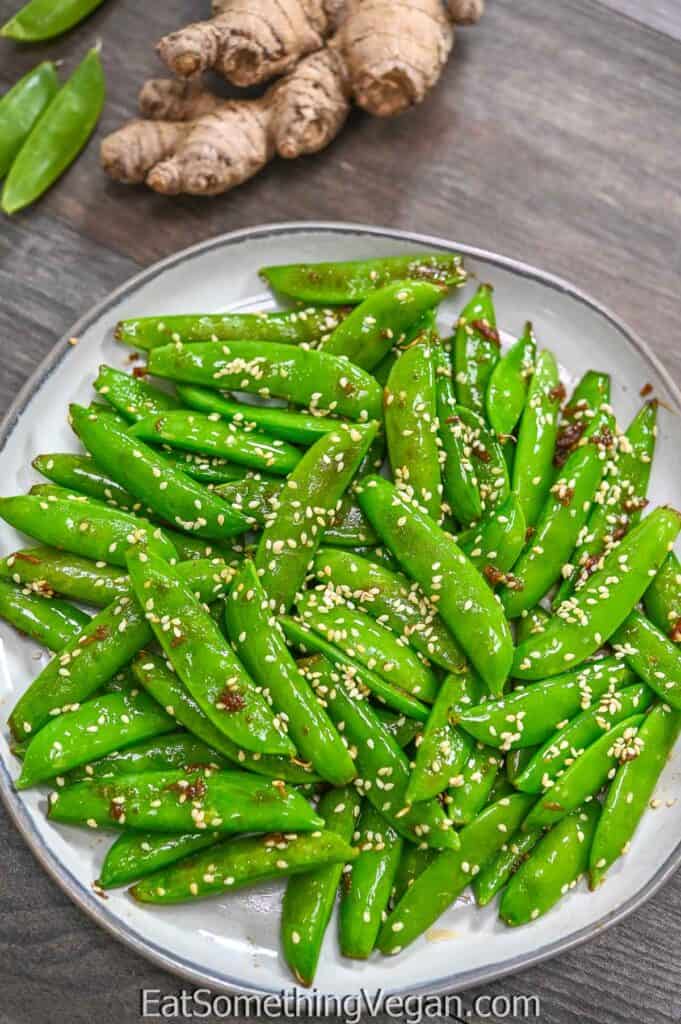
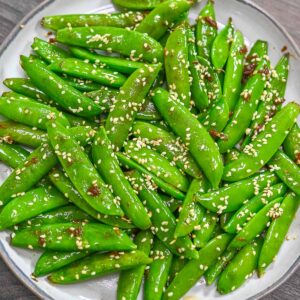
Once you pair the peas with the toasted sesame oil and top with toasted sesame seeds, you just might forget that you have another portion of your meal ready and waiting to enjoy! This simple recipe is quite versatile and is a healthy dish that any cook can make. Since you ultimately control the outcome of this easy recipe, you can have these pea pods cooked up as little or as much as you want to get the perfect texture that you're looking for.
Video Tutorial
What you'll need
- Fresh Sugar Snap Peas. I love using Mann's brand.
- Oil. Olive or avocado or your favorite neutral tasting oil.
- Soy Sauce. Or tamari as a GF substitute.
- Ginger. Fresh is best. I don't recommend using ginger powder here.
- Garlic. Use fresh garlic clove.
- Sesame Oil. Adds a special flavor. I recommend using Toasted Sesame Oil.
- Sesame Seeds. Toast them, to add more depth of flavor.
How to make it
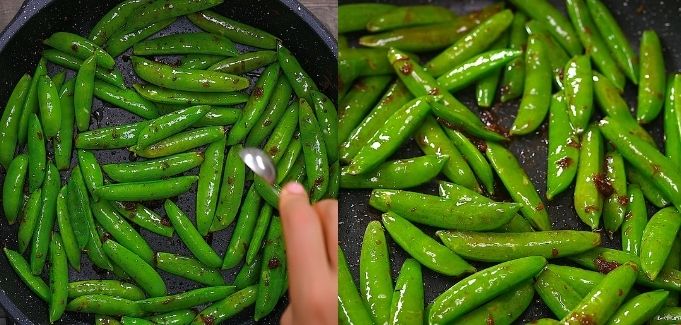
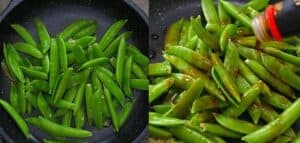
1. In a large skillet, quick sauté the minced garlic and ginger in oil for 1 minute over medium heat.

2. Add in the sugar snap peas as a whole pod along with soy sauce, and cook, stirring occasionally, for about 5-7 minutes.

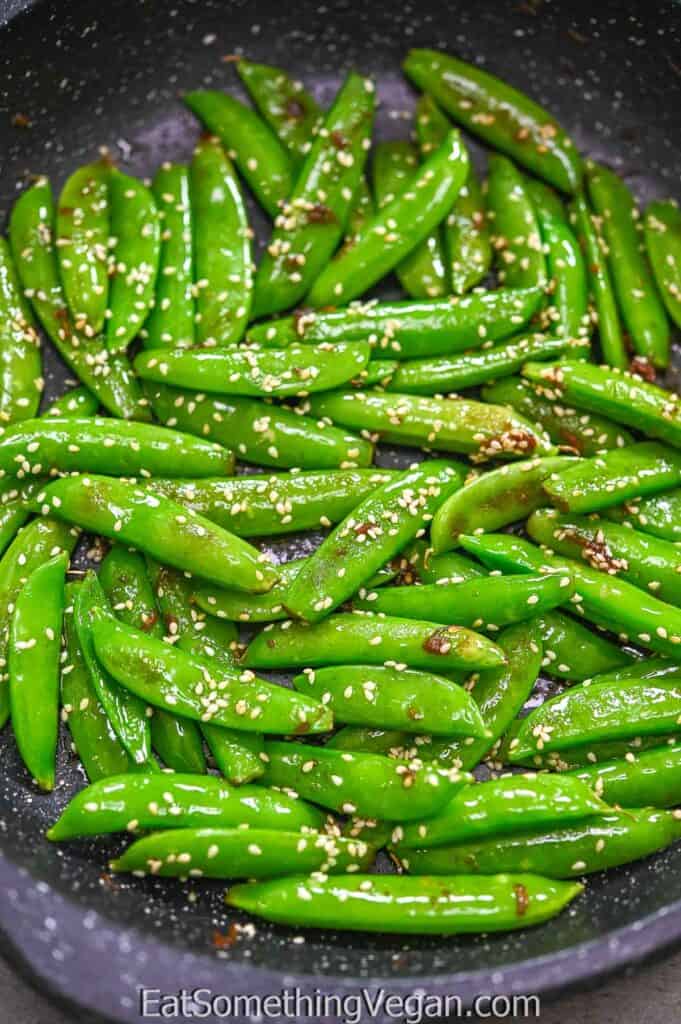
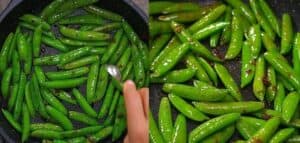
3. Turn off the heat on these cooking sugar snap peas, add the sesame oil, and stir.
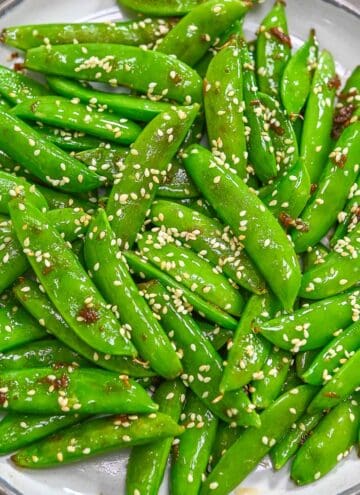
4. Sprinkle with sesame seeds and serve.
Snow Peas vs. Sugar Snap Peas
Snow peas are less crunchy, sweet, and not as succulent. That's why I recommend using sugar snap peas. However, you can use snow peas as well. When buying the peas, the biggest difference between snow peas and sugar snap peas is that the snow peas are going to be flatter. If you see peas in the pod that are plump and round, you can be pretty confident that you're looking at sugar snap peas. But if you see peas in the pods that are flat, that is your biggest indicator that you're looking at snow peas.
Tips and Tricks
- Make them simple to chew. Remove the string or use stringless pea variety so that you can easily bite into them and have a crisp and clean bite.
- Add other veggies. Sugar snap peas pair perfectly with other types of veggies. Add in red pepper, onions, mushrooms, etc. to have even more veggies with your dish.
- Choose the right kind of peas. Now that you know the difference between the two, make certain to use sugar snap peas and not snow peas for this recipe!
- Don't overcook the peas. There is supposed to be a bit of a crunch with these peas so don't try to keep cooking them until they "soften". Just think of them as crunchy cooked peas!
Ad-ins and substitutions
- Add other seasonings. Try this recipe with some lemon zest or lemon juice for zest, or black pepper for a little spice. You can also use garlic powder if you have no fresh garlic.
- Substitute other vegetables. You can also make this with your favorite veggies in place of the sweet sugar snap peas, like green beans, broccoli, or garden peas, for a tasty side dish.
- Add nutritional yeast. This gives the sauteed sugar snap peas a cheesy, nutty flavor similar to parmesan cheese.
- Add fresh herbs. Make this with some fresh mint for a flavor enhancer.
How to store and reheat
You can store these Asian Sugar Snapped Peas in an airtight sealed container in the fridge. When you're ready to eat, you can pop them in the microwave to warm up or add a bit more sesame oil into a hot pan and heat them up over medium-high heat on the stove until warmed through.
I would recommend topping them with even more fresh toasted sesame seeds once you reheat as well.
This sugar snap pea recipe is so good! If you're lucky enough to grow green peas or any other kind in your garden, this is one refreshing and light recipe that you can eat and enjoy all summer long. With fresh ingredients, only a little olive oil, and lots of healthy garlic, this simple dish has great flavor and is great for you.
More tasty vegetable recipes to try:
- Simple Mashed Beans
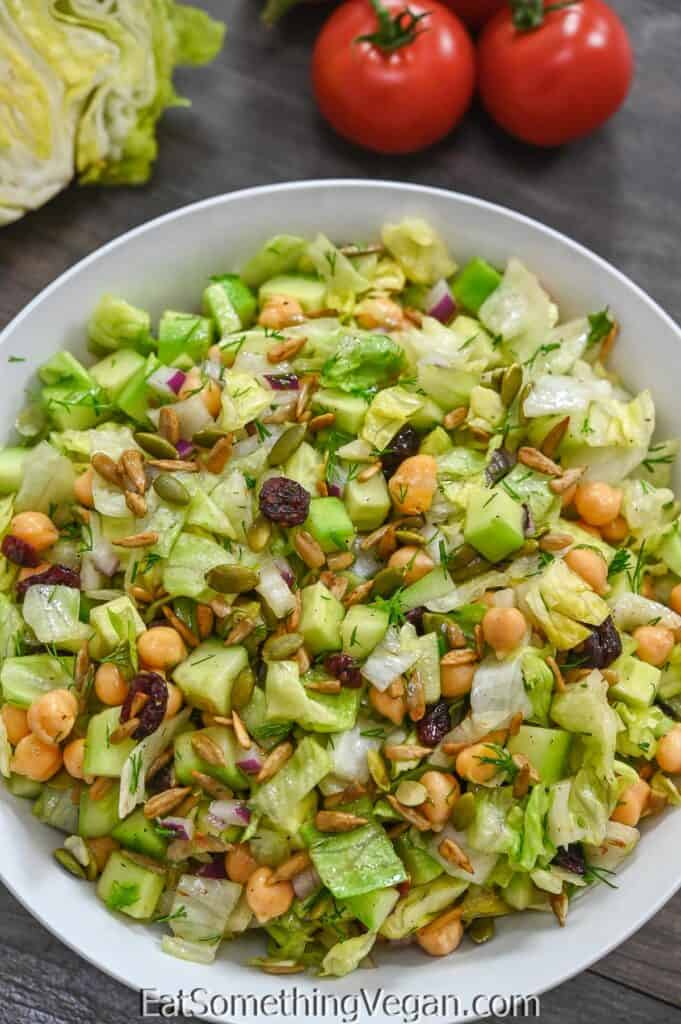
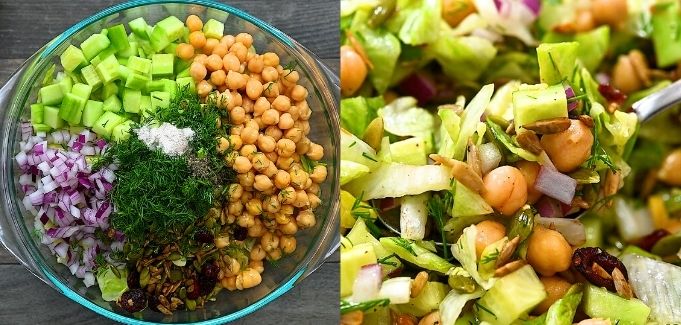
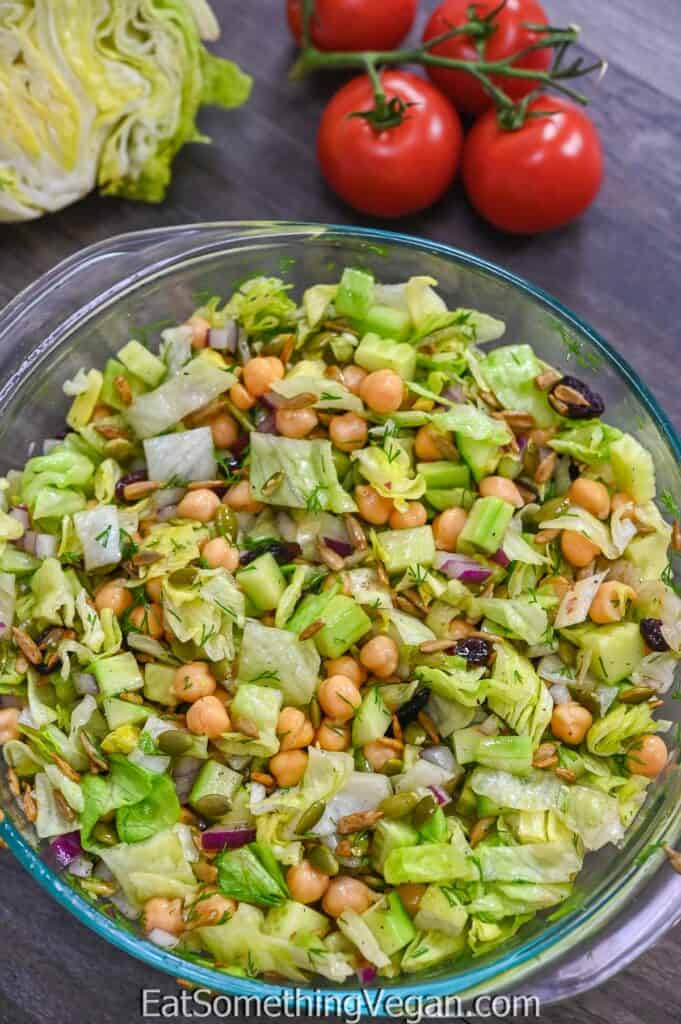
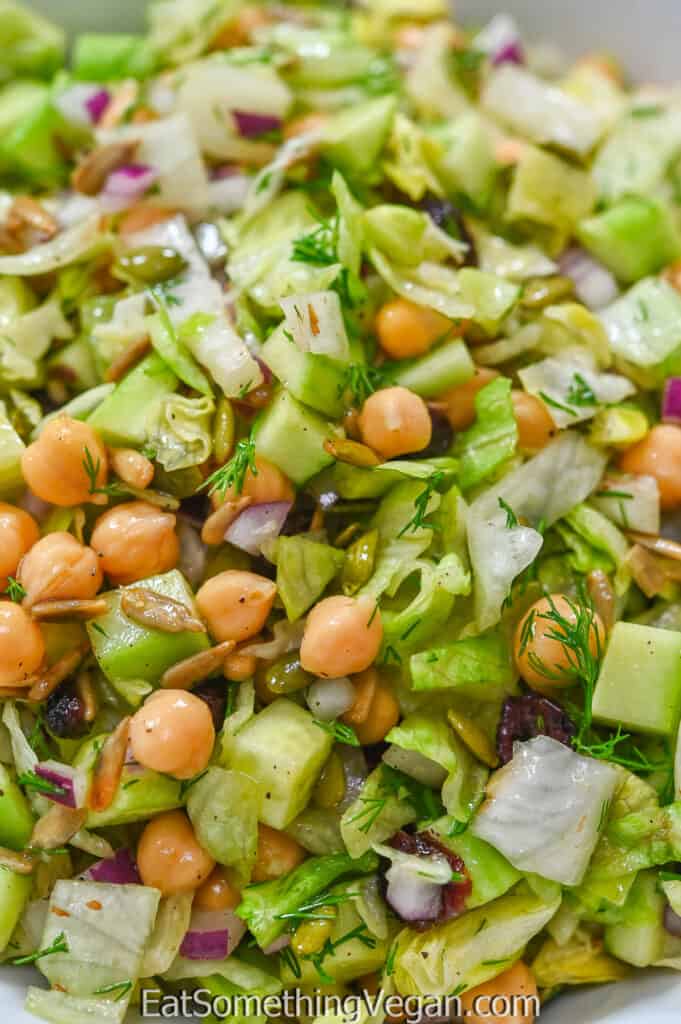
- Quick and Easy Chickpea Salad
- Tomato and Onion Salad
- Baked Vegan Zucchini Fries
- Oven-Roasted Sugar Snap Peas
Quick Asian Sugar Snap Peas
Ingredients
- 8 oz. sugar snap peas, string removed and trimmed (if needed)
- ½ tbsp. avocado oil or other neutral tasting oil
- 1 garlic clove
- 1 tsp. minced ginger
- 1 tbsp. soy sauce
- 1 tsp. toasted sesame oil
- ½ tbsp. toasted sesame seeds
Instructions
- In a large skillet, saute the garlic and ginger in oil for 1 minute over medium heat.½ tbsp. avocado oil, 1 garlic clove, 1 tsp. minced ginger

- Add sugar snap peas and soy sauce, and cook, stirring occasionally, for about 5-7 minutes.8 oz. sugar snap peas, string removed and trimmed (if needed), 1 tbsp. soy sauce
- Turn off the heat, add the sesame oil, and stir.1 tsp. toasted sesame oil
- Sprinkle with sesame seeds and serve.½ tbsp. toasted sesame seeds


Notes
Tips and Tricks
- Make them simple to chew. Remove the string or use stringless pea variety so that you can easily bite into them and have a crisp and clean bite.
- Add other veggies. Sugar snap peas pair perfectly with other types of veggies. Add in red pepper, onions, mushrooms, etc. to have even more veggies with your dish.
- Choose the right kind of peas. Now that you know the difference between the two, make certain to use sugar snap peas and not snow peas for this recipe!
- Don't overcook the peas. There is supposed to be a bit of a crunch with these peas so don't try to keep cooking them until they "soften". Just think of them as crunchy cooked peas!